 Sweet Georgie Learns
A Little Less Conversation, A Little More Action
After the decision has been made that a game will happen, the game engine has been chosen, the blog has been set up, and even a few trivialities have been blogged about, it’s time to get down to business: it’s time to develop a game.
The nice and tricky thing about starting is that you can start with anything and nothing. Every source will provide knowledge that I don’t yet have. On the other hand, I do have a specific goal and I don’t know which source will actually bring me closer to it effectively.
The first tutorial videos on YouTube were either so abstract that they tried to cram all the concepts in Godot into 30 minutes or were multi-hour series on how to develop a specific game. That’s why I decided to go for a solid classic: I read the docs. The Godot docs were the perfect starting point and I highly recommend investing the time.
You start with a very brief and shallow introduction of the key Godot concepts, a quick overview of the editor, and Godot’s design philosophy. Next, there’s an exemplary step-by-step guide on how to create your own first Scenes and Nodes, give them some scripting logic, react to player input, and link various objects via signals.
With this quickly acquired set of tools, the docs already invite you to develop a first 2D game from scratch: “Dodge the Creeps!”
It is worthwhile to have completed the two introductions mentioned above for this. The player character is assembled as its own tree of nodes, much like before, into a scene. Responding to user input is also no longer news. However, for the first time, something called “graphics” is introduced: sprites.
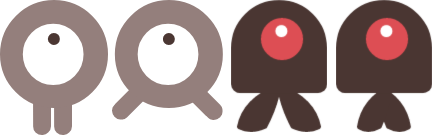
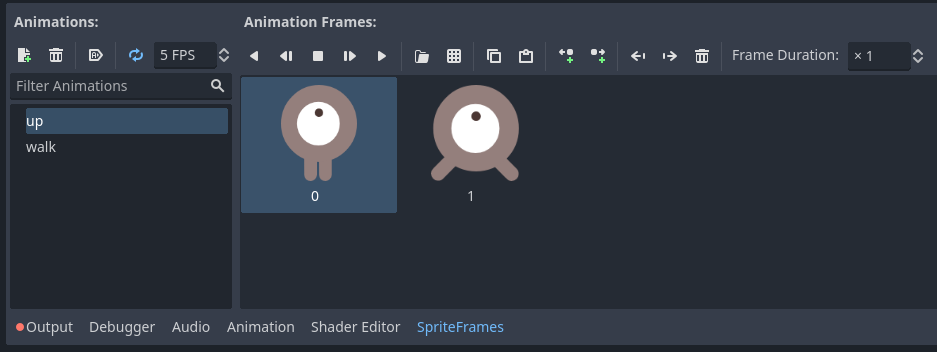
Two images alternating at a given frequency already constitute the entire animation. The animation only plays when the player moves and the simple animation is already perfect. Godot provides a node type called AnimatedSprite2D specifically for this purpose. It has its own animation area, where you simply add the two images. You can name an animation to be able to assign it in the script and that’s it.
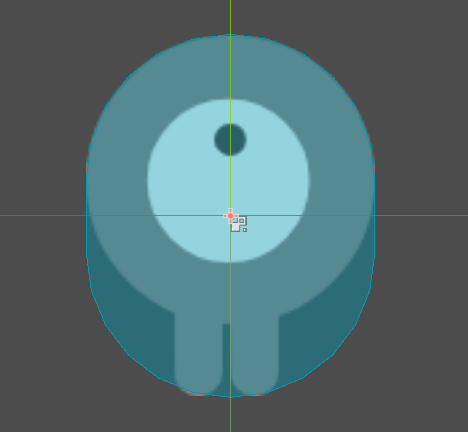
A second node type handles the registration of collisions between the player and mobs: CollisionShape2D. It’s an invisible object that you try to overlap as closely as possible with the sprite and sends signals as soon as it detects another body.
However, the manifold, highly specialized nodes are a double-edged sword. Some nodes are so specific that it’s not immediately clear what their application is. For example, for randomly spawning mobs, a so-called Path2D is needed, which, well… as the name suggests, defines a path. This node has a child node of type PathFollow2D, which in turn has a property called “progress_ratio” that can take a value between 0.0 and 1.0 to select a point on the path between the start and end. This finally serves as the random spawn point for the mobs. I’m not saying it’s unreasonable, but it’s not obvious either. On the other hand, tracking the score with labels and timers, playing music and sounds with AudioStreamPlayer2D, and adding buttons and their functionality are so intuitive and simple that I almost fell victim to imposter syndrome while following the tutorial.
In summary, the 2D tutorial has massively motivated me. A game that really feels like a game, with menus, HUD, sounds, and cute graphics, could be created within 1 to 2 hours. Now I’m really excited to build a first prototype, and I already have an idea :)